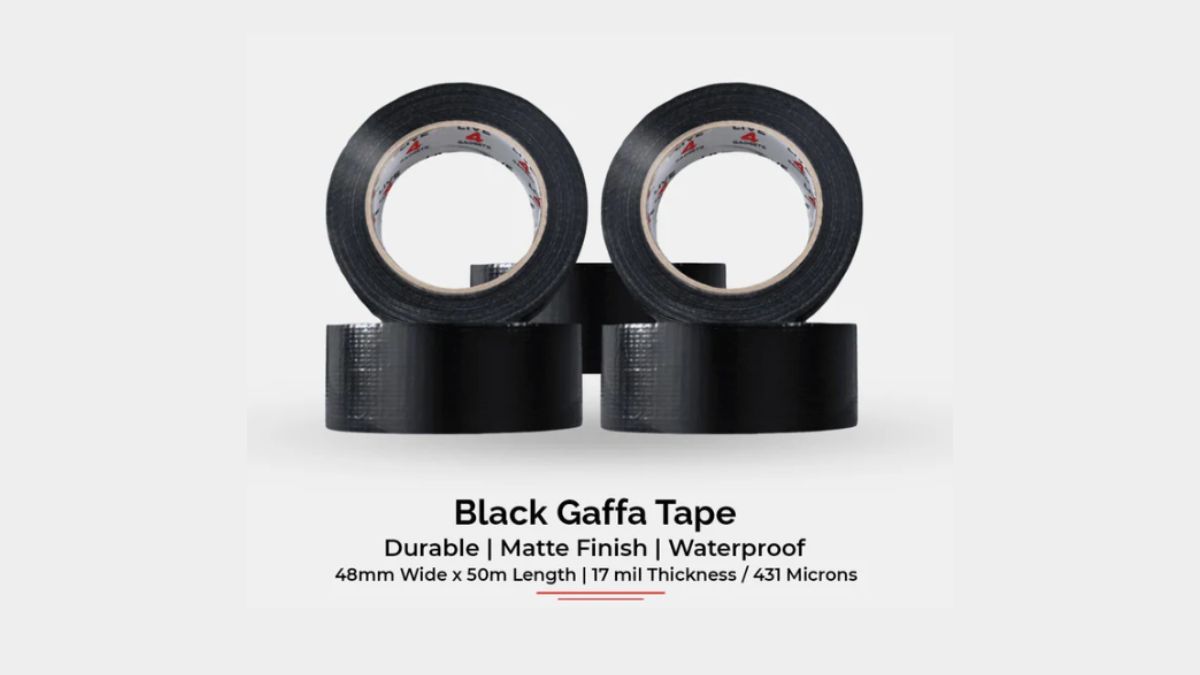
Gaffa tape, also known as gaffer tape, is a versatile adhesive tape used in various applications, from securing cables in photography and film production to DIY household fixes.
Its strength and ability to adhere to a wide range of surfaces make it a favorite for professionals and hobbyists alike.
However, one of its downsides is the potential mess it can leave behind when removed.
Black gaffa tape, in particular, can leave adhesive residue, discoloration, or even damage certain surfaces if not removed carefully. Here’s a comprehensive guide to help you remove black gaffa tape cleanly and without hassle.
Step 1: Gather the Right Tools
Before you start, having the proper tools on hand is essential. Here’s what you might need:
- Hairdryer or heat gun
- Plastic scraper or old credit card
- Rubbing alcohol or adhesive remover
- Microfiber cloth
- Soapy water
- Cotton swabs
- Baking soda
- Cooking oil or vinegar (optional)
Step 2: Prepare the Surface
Understanding the surface to which the gaffa tape is attached is crucial. Whether it’s glass, metal, painted walls, or fabric, the removal method may vary.
For delicate surfaces like painted walls or polished wood, extra caution is required to avoid damage. Test any cleaning agent or technique on a small, inconspicuous area before proceeding.
Step 3: Soften the Adhesive with Heat
One of the easiest ways to loosen the adhesive is by applying heat:
- Use a hairdryer or heat gun: Set it to a low or medium heat setting. Hold it a few inches away from the tape and move it back and forth to warm the adhesive. Be careful not to overheat the surface, especially if it’s sensitive to high temperatures.
- Check the tape’s pliability: As the adhesive warms, the tape will become easier to peel. Focus on one section at a time to ensure consistent heating.
Step 4: Peel the Tape Carefully
- Start from one corner: Lift one corner of the tape using your fingernail or a plastic scraper. Avoid using sharp objects like knives, as they can scratch the surface.
- Peel at a low angle: Slowly pull the tape back at a low angle to minimize the risk of leaving residue or tearing. If the tape resists, reapply heat to the stubborn areas.
Step 5: Remove Residue
Even with careful peeling, adhesive residue might remain. Here are a few effective methods to remove it:
Using Rubbing Alcohol
- Dampen a microfiber cloth or cotton swab with rubbing alcohol.
- Gently rub the adhesive residue in circular motions until it dissolves.
Adhesive Removers
- Commercial adhesive removers like Goo Gone or WD-40 work wonders on stubborn residues.
- Apply a small amount to the residue, let it sit for a few minutes, and then wipe it away with a cloth.
Soapy Water
- Mix warm water with a few drops of dish soap.
- Dip a cloth into the solution and scrub the area gently.
- This method is suitable for less stubborn residue on delicate surfaces.
Baking Soda and Cooking Oil
- Combine equal parts baking soda and cooking oil to create a paste.
- Apply the paste to the residue and let it sit for 10-15 minutes.
- Use a cloth to scrub the area, then clean it with soapy water.
Vinegar Solution
- Mix equal parts white vinegar and water.
- Soak a cloth in the solution and apply it to the residue.
- This method is effective for natural and non-toxic cleaning.
Step 6: Final Cleanup
After removing the adhesive residue, clean the surface thoroughly:
- Wipe with a damp cloth: Use clean water to remove any remaining cleaning agents or adhesive.
- Dry the area: Pat the surface dry with a clean, dry cloth to prevent streaks or watermarks.
Tips to Prevent Mess in the Future
- Use low-residue tape: If possible, opt for low-residue gaffa tape designed for easy removal.
- Limit application time: The longer the tape stays on a surface, the harder it can be to remove. Remove tape promptly when it’s no longer needed.
- Apply tape to less sensitive areas: If working with delicate surfaces, test the tape in a small area first.
Common Mistakes to Avoid
- Pulling the tape too quickly: This can tear the tape and leave more residue behind.
- Using harsh chemicals: Some cleaning agents can damage surfaces or leave their residue.
- Scraping with sharp tools: Always use non-abrasive tools to avoid scratching the surface.
Conclusion
Removing black gaffa tape doesn’t have to be a messy ordeal. With the right tools, techniques, and a little patience, you can get the job done without damaging the surface or leaving a sticky mess.
Whether you’re tidying up after a DIY project or prepping for a professional event, following these steps will ensure a clean and hassle-free experience.
For more read posts, Click here

Wakefit Height Adjustable Hollow Fiber Sleeping Pillow with Zip |(White and Grey, Standard, Set of 2, Microfiber) 3 Months Warranty
₹878.00 (as of 17 April, 2025 17:00 GMT +05:30 - More infoProduct prices and availability are accurate as of the date/time indicated and are subject to change. Any price and availability information displayed on [relevant Amazon Site(s), as applicable] at the time of purchase will apply to the purchase of this product.)
Nova Rechargeable Milk Frother & Coffee Whisker with Dual Spring Tech | 1 Year Replacement Warranty | Free Coffee Frothing Recipe Book
₹338.00 (as of 17 April, 2025 16:54 GMT +05:30 - More infoProduct prices and availability are accurate as of the date/time indicated and are subject to change. Any price and availability information displayed on [relevant Amazon Site(s), as applicable] at the time of purchase will apply to the purchase of this product.)
COFENDY Portable Mini Cooler Rechargeable Air Conditioner Water Cooler Small AC for Office, Home Cooling, Summer Fan Evaporative Brush USB Compatible Stickers Cleaning 3 Fast Speed (Ac Mini)
₹799.00 (as of 17 April, 2025 16:54 GMT +05:30 - More infoProduct prices and availability are accurate as of the date/time indicated and are subject to change. Any price and availability information displayed on [relevant Amazon Site(s), as applicable] at the time of purchase will apply to the purchase of this product.)
Amazon Brand - Presto! Garbage Bags | Large | 90 Count | 15 Bags X 6 Rolls | 24 X 32 Inches | For Dry & Wet Waste | Black
₹309.00 (as of 17 April, 2025 17:00 GMT +05:30 - More infoProduct prices and availability are accurate as of the date/time indicated and are subject to change. Any price and availability information displayed on [relevant Amazon Site(s), as applicable] at the time of purchase will apply to the purchase of this product.)
COFENDY Portable Mini Cooler Rechargeable Air Conditioner Water Cooler Small AC for Office, Home Cooling, Summer Fan Hot or Cold USB Compatible Tumbler Bottle 3 Fast Speed (AC Cooler)
₹799.00 (as of 17 April, 2025 16:54 GMT +05:30 - More infoProduct prices and availability are accurate as of the date/time indicated and are subject to change. Any price and availability information displayed on [relevant Amazon Site(s), as applicable] at the time of purchase will apply to the purchase of this product.)Discover more from The General Post
Subscribe to get the latest posts sent to your email.