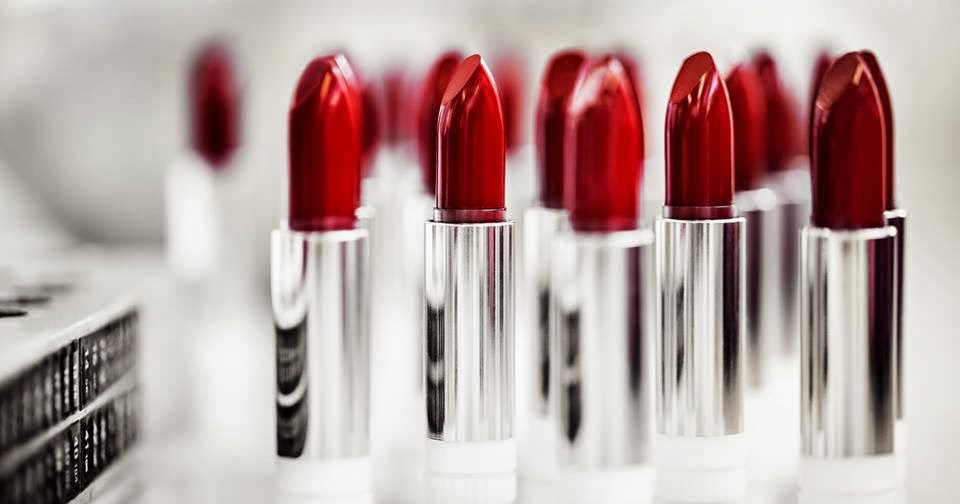
Creating your own lipstick at home can be an enjoyable and rewarding experience. With the right ingredients and a bit of creativity, you can design a custom shade that complements your style. This guide will walk you through the process of making your own lipstick, from selecting the colors to the final application. If you’re looking to package your creation, consider using custom lipstick boxes to add a personal touch.
Understanding the Basics of Lipstick Ingredients
Before you start, it’s important to understand the basic ingredients needed for homemade lipstick. The primary components include waxes, oils, pigments, and emollients.
- Waxes: Beeswax or candelilla wax are commonly used to give lipstick its structure and stability.
- Oils: Oils like coconut oil, jojoba oil, or almond oil add moisture and help the lipstick glide smoothly.
- Pigments: These provide the color. You can use cosmetic-grade pigments or even crushed eyeshadows for a variety of shades.
- Emollients: These are added to soften the lipstick and enhance its application. Ingredients like shea butter or cocoa butter work well.
Choosing Your Colors
Selecting the right colors for your lipstick involves mixing different pigments. You can start with basic colors and mix them to create your desired shade. Here’s how:
- Start Small: Begin with a small amount of pigment to test the color.
- Mix Gradually: Combine colors slowly until you achieve the desired hue.
- Test the Shade: Apply a small amount to your lips or hand to see how it looks in different lighting conditions.
Creating the Lipstick Base
- Melt the Waxes: In a double boiler, melt your chosen waxes until they are fully liquid.
- Add Oils: Once the waxes are melted, mix in your oils and emollients. Stir well to combine.
- Incorporate Pigments: Gradually add your pigments to the melted mixture, stirring continuously to ensure even distribution.
- Test and Adjust: Before pouring the mixture into molds, test the texture and color. Adjust as needed by adding more pigment or oil.
Pouring and Setting
- Prepare Molds: If you don’t have specific lipstick molds, you can use small containers or old lipstick tubes.
- Pour the Mixture: Carefully pour the melted mixture into your molds. Tap the molds gently to remove any air bubbles.
- Cool and Set: Allow the lipstick to cool completely. This usually takes a few hours. Once solid, the lipstick is ready for use.
Packaging in Custom Lipstick Boxes
After creating your custom lipstick, you may want to consider packaging it in custom lipstick boxes. Custom packaging not only protects your product but also enhances its presentation. ZEE Custom Boxes UK offers a variety of options for personalized packaging that can help you showcase your creation beautifully.
Tips for Successful DIY Lipstick
- Sanitize Your Tools: Ensure all tools and containers are clean to avoid contamination.
- Use High-Quality Ingredients: The quality of your ingredients affects the final product. Opt for high-quality pigments and oils for the best results.
- Experiment: Don’t be afraid to experiment with different colors and textures. The beauty of DIY is the freedom to create something unique.
Creating your own lipstick can be a fun and satisfying project. By following these steps, you can craft a signature shade that is uniquely yours. Whether you’re making it for personal use or as a gift, taking the time to customize your lipstick will result in a product that reflects your personal style and creativity.
wipro Garnet 10W LED Bulb for Home & Office |Cool Day White (6500K) | B22 Base|220 degree Light coverage |4Kv Surge Protection |400V High Voltage Protection |Energy Efficient | Pack of 1
₹58.00 (as of 13 November, 2024 18:27 GMT +05:30 - More infoProduct prices and availability are accurate as of the date/time indicated and are subject to change. Any price and availability information displayed on [relevant Amazon Site(s), as applicable] at the time of purchase will apply to the purchase of this product.)Prestige 1.5 Litres Electric Kettle (PKOSS 1.5)|1500W | Silver - Black| Automatic Cut-off | Stainless Steel | Rotatable Base | Power Indicator | Single-Touch Lid Locking
₹699.00 (as of 13 November, 2024 18:27 GMT +05:30 - More infoProduct prices and availability are accurate as of the date/time indicated and are subject to change. Any price and availability information displayed on [relevant Amazon Site(s), as applicable] at the time of purchase will apply to the purchase of this product.)Amazon Brand - Presto! Garbage Bags Medium 180 Count|19 x 21 inches Black , For Dry & Wet waste|30 bags/roll (Pack of 6)
₹345.00 (as of 13 November, 2024 18:27 GMT +05:30 - More infoProduct prices and availability are accurate as of the date/time indicated and are subject to change. Any price and availability information displayed on [relevant Amazon Site(s), as applicable] at the time of purchase will apply to the purchase of this product.)GIGAWATTS 10.5M LED String Light 360° Copper Power Pixel String 35 Feet Serial Decorative Fairy Lights for Home Diwali Christmas Festival Wedding (Pack of 1, Warm White)
₹89.00 (as of 13 November, 2024 18:26 GMT +05:30 - More infoProduct prices and availability are accurate as of the date/time indicated and are subject to change. Any price and availability information displayed on [relevant Amazon Site(s), as applicable] at the time of purchase will apply to the purchase of this product.)SHAYONAM Cordless Portable Wireless Pressure Washer Gun 48V 12000mah High Pressure Water Gun for Car Wash Bike Washing Cleaning| Adjustable Nozzle and 5M Hose Pipe (Double_Battery) (Black)
₹1,699.00 (as of 13 November, 2024 18:26 GMT +05:30 - More infoProduct prices and availability are accurate as of the date/time indicated and are subject to change. Any price and availability information displayed on [relevant Amazon Site(s), as applicable] at the time of purchase will apply to the purchase of this product.)Discover more from The General Post
Subscribe to get the latest posts sent to your email.


