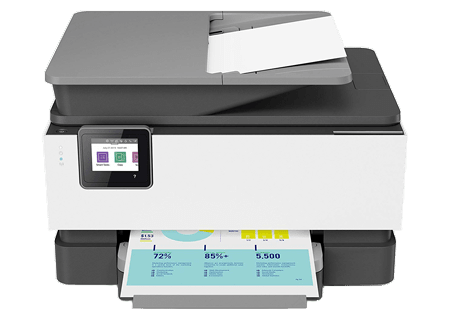
The Canon PIXMA TR4720 is a versatile all-in-one printer that supports printing, scanning, copying, and faxing. Canon pixma tr4720 setup requires a few steps, including installing the necessary drivers and connecting the printer to a wireless network. This guide provides a comprehensive walkthrough to help Mac users set up their Canon PIXMA TR4720 printer seamlessly.
Step 1: Check System Requirements
Before beginning the setup, ensure your Mac meets the following requirements:
- macOS 10.12 (Sierra) or later
- A stable WiFi network
- Internet access for downloading drivers
- Available USB port (if setting up via USB)
2: Unbox and Prepare the Printer
- Unpack the printer and remove all packaging materials.
- Plug in the power cable and press the power button to turn on the printer.
- Install the ink cartridges and load paper into the tray.
3: Connect the Printer to WiFi
The Canon PIXMA TR4720 supports wireless connectivity, allowing you to print from your Mac without using cables.
Method 1: Easy Wireless Connect
- Press the Setup button on the printer.
- Navigate to Wireless LAN Setup and press OK.
- Select Easy Wireless Connect and press OK.
- The printer will enter setup mode.
- On your Mac, proceed to download the software as outlined in Step 4.
2: WPS Push Button Method
- Press and hold the WiFi button on the printer until the power lamp flashes.
- Press the WPS button on your router within 2 minutes.
- Wait for the printer to connect. The WiFi lamp will stop flashing once the connection is successful.
3: Manual WiFi Setup
- Press the Setup button on the printer.
- Navigate to Wireless LAN Setup and select Manual Connect.
- Choose your WiFi network and enter the password using the keypad.
- Press OK to confirm.
Step 4: Download and Install Drivers on Mac
- Open a web browser on your Mac and visit the Canon Support Website.
- Search for Canon PIXMA TR4720 and go to the Drivers & Downloads section.
- Download the IJ Printer Driver and IJ Scan Utility for macOS.
- Open the downloaded file and follow the on-screen instructions to install the software.
Step 5: Add the Printer to macOS
Once the drivers are installed, add the printer to your Mac.
- Click on the Apple menu and go to System Settings (or System Preferences on older macOS versions).
- Select Printers & Scanners.
- Click the + button to add a new printer.
- Select Canon PIXMA TR4720 from the list of available printers.
- Choose Secure AirPrint or the Canon driver if available.
- Click Add to complete the setup.
Step 6: Test the Printer
To ensure the setup is successful, print a test page.
- Open any document or image on your Mac.
- Click File > Print.
- Select Canon PIXMA TR4720 as the printer.
- Adjust the print settings if needed and click Print.
Troubleshooting Common Issues
1. Printer Not Detected on Mac
- Ensure the printer is connected to the same WiFi network as your Mac.
- Restart your Mac and printer.
- Reinstall the printer drivers from the Canon website.
2. Print Jobs Stuck in Queue
- Open Printers & Scanners from System Settings.
- Select Canon PIXMA TR4720 and click Open Print Queue.
- Click Delete to remove stuck print jobs.
3. Poor Print Quality
- Run a Nozzle Check from the printer’s maintenance settings.
- Replace low ink cartridges if needed.
Conclusion
Setting up the Canon PIXMA TR4720 on a Mac is a straightforward process when following these steps. Whether connecting via WiFi or USB, installing the correct drivers ensures smooth operation. If any issues arise, troubleshooting steps like reinstalling drivers, checking network connections, and restarting devices can help resolve them. Once set up, Mac users can enjoy hassle-free printing, scanning, and copying with their PIXMA TR4720.
